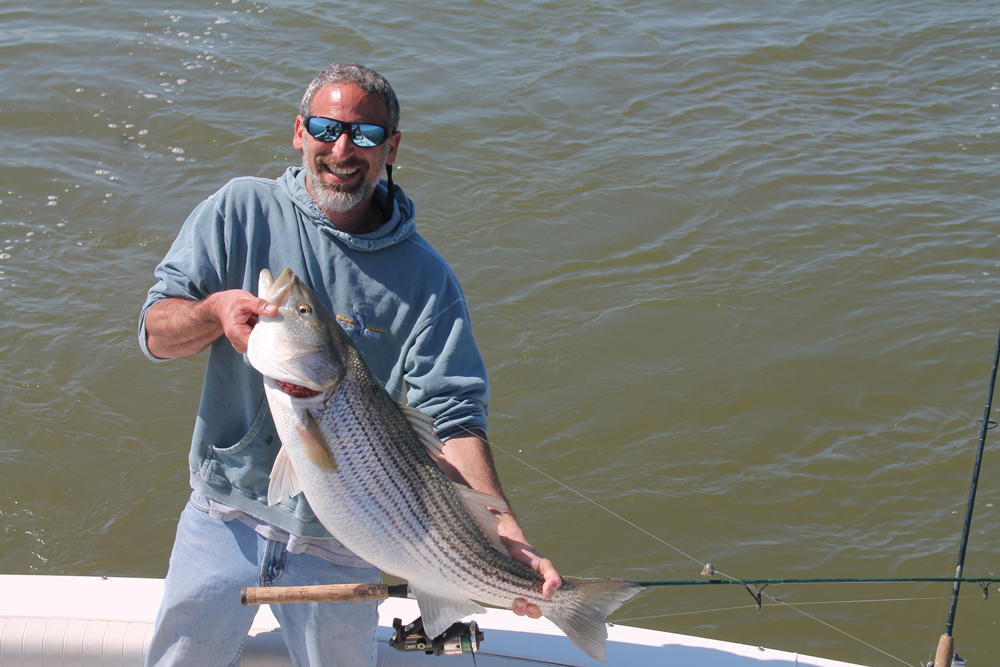
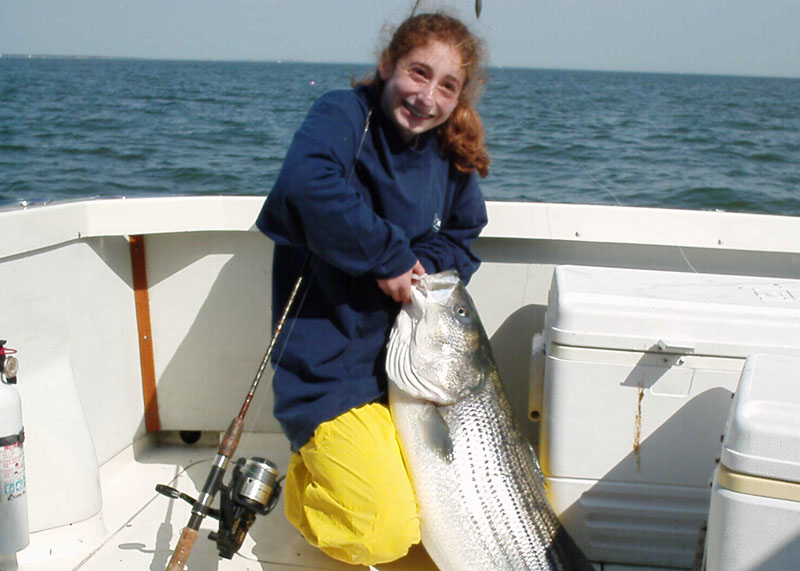
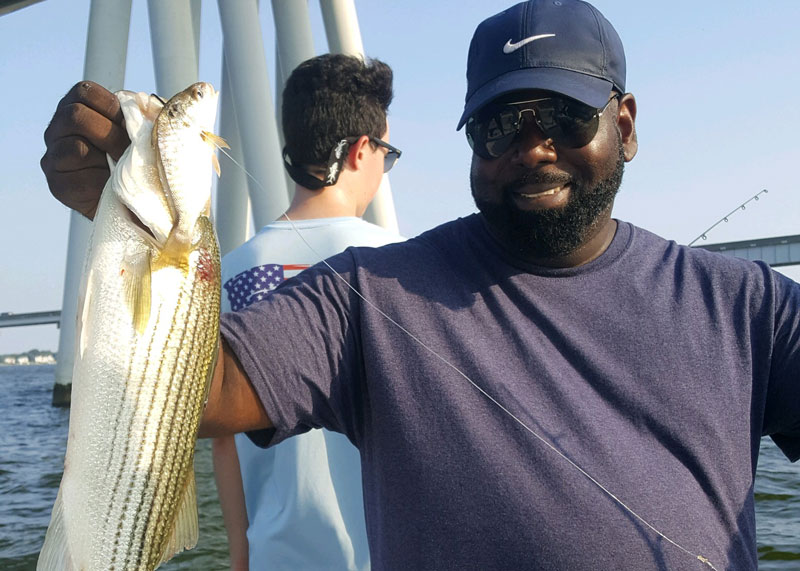
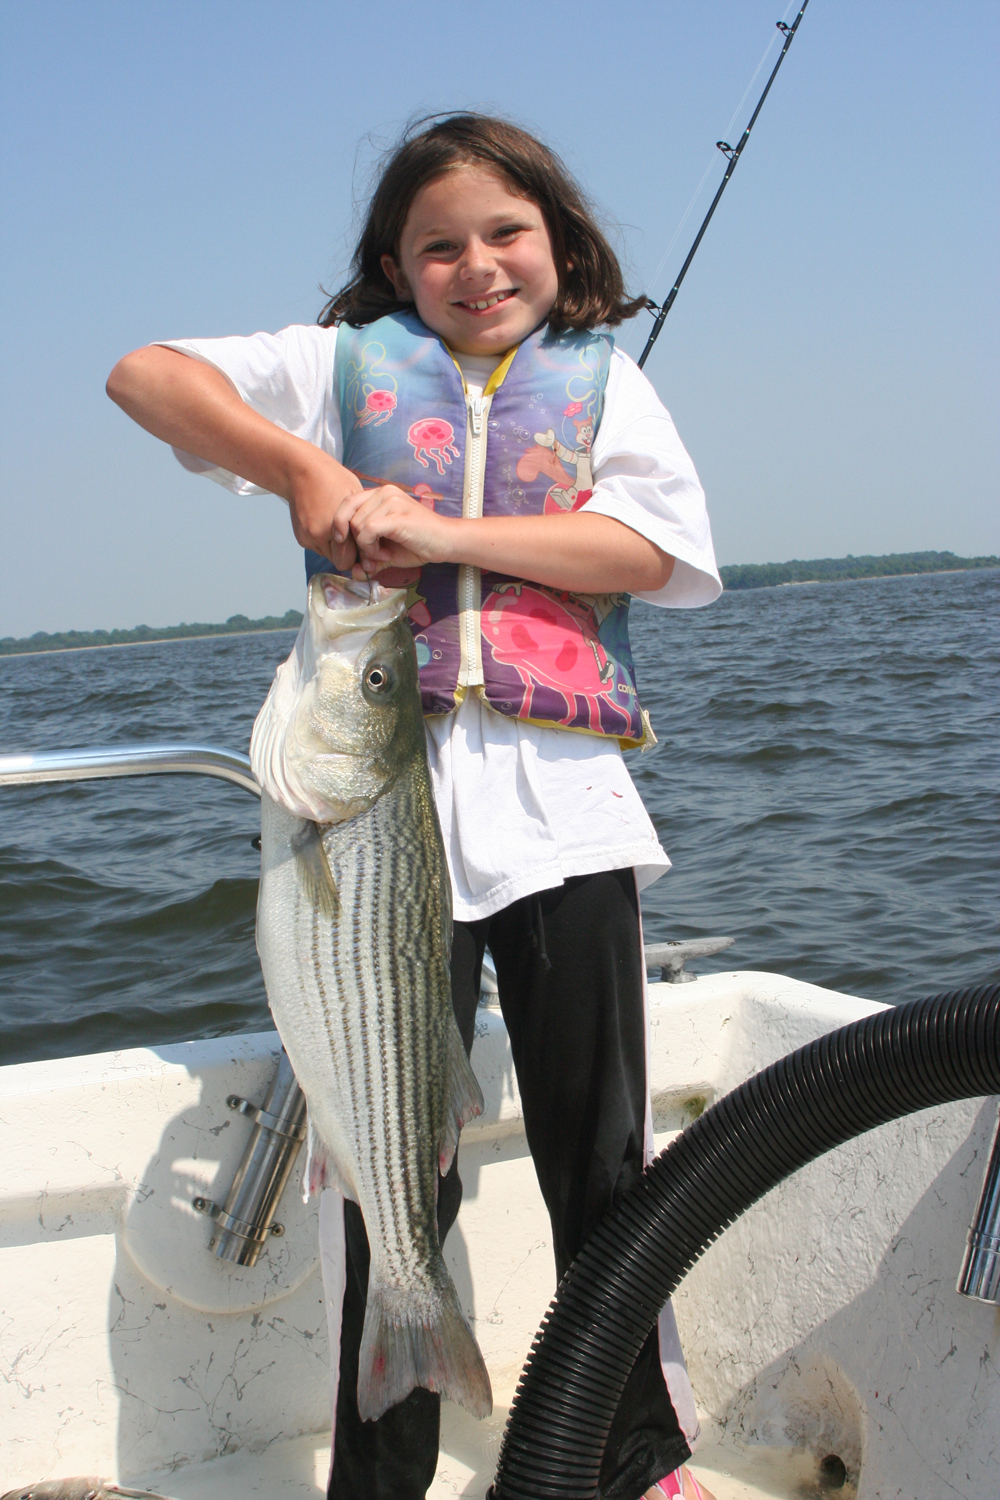
Before you put a bait on a hook, you’ll have to go and catch it, and that’s why last month in Hit the Spot Part I, we looked into how to catch live spot, one of the most common rockfishs live baits in the Chesapeake Bay. But now, it’s time to turn those little nibblers into big striped bass.

Live-lining Fishing Gear
With our well full of frisky spot, the first task will be to properly prep a brace of rigs for live-lining. When it comes to rods, there’s no magic bullet—simply choose your favorite. With reels, however, there are some special considerations to make. Whether you prefer conventional or spinning gear, the important feature here is having some sort of freespool ability. Conventional reels have it, but when it comes to spinning reels, choosing one with a Baitrunner-style function is a must. This isn’t so the fish won’t feel any tension when they grab a spot and run with it. Even on the lightest settings, a fish can feel the tension created by a Baitrunner when the rod’s sitting in a holder. You think not? Put a Baitrunner-style rig in a holder, set it to the lightest possible tension, step 20 feet away, and pull on the line. Can you feel the resistance? Of course you can—and a fish is pulling against the rod and reel with its mouth, not an appendage. Still, having this function is important because it allows you to have dual drag settings at any given time, and when a rod is in the holder, having the ability to use a super-light drag setting but also be able to change it at the flip of a lever, is certainly advantageous.

Line choice is also important. A season of fishing braid on one side of the boat and monofilament on the other while bait fishing proved that in this scenario, mono has the edge. The stretch and resulting loss of sensitivity works in your advantage, since braid only allows a fish to feel more unusual tension and pressure as it attacks a bait. Most anglers would say that 12 to 20 pound test main line is about right when it comes to live-lining spot for stripers, and which specific strength you choose is more a matter of personal preference than anything else.
The standard rig consist of three to five feet of 30 or 40 pound fluorocarbon leader, with a swivel at one end and a 8/0 or larger circle hook at the other. Note that in some areas, including the Maryland and Virginia portions of the Chesapeake Bay, the use of circle hooks is mandatory when fishing for stripers.
Weighty Striper Decisions
Use weight only when necessary to get the spot down to the rockfish. Truth be told, much of the time it isn’t necessary at all because the spot naturally want to swim down to the bottom, and this is where the bulk of the stripers are. Both current and how you affix your spot to the hook, however, have a huge impact on this.
Baits hooked through the jaws or nose (they will live longer when hooked through the nose, but they also escape off the hook more often) will swim relatively high in the water column. Often, they’ll swim right at or just beneath the surface. Those hooked through the back, however, will almost always attempt to swim down. Chose which method to use depending on where the target species is feeding.

Hooking through the back presents you with two different options: you can thread the hook forward of the spot’s dorsal or between the dorsal and the tail. Going aft of the dorsal fin is the better choice when you’re at anchor and in still water, as it allows the spot to swim in virtually any direction and/or depth. (You want to let that spot go where he pleases, because that will take him right to the same place his buddies are—where those stripers are hunting). In a heavy current or when drifting quickly, however, always place the hook forward of the dorsal. This will force the spot to swim straight ahead and down, and into the current (more or less as a Rat-L-Trap does). Baits hooked behind the dorsal, meanwhile, would be dragged backwards through the water in a strong current or a fast drift—not exactly a natural-looking presentation.
Some anglers prefer to live-line while anchored, and others while adrift. If the fish are focused on a specific piece of structure, such as a wreck, drop-off, or underwater hump, anchoring is the best choice. If they’re scattered over a large area, however, drifting is likely to be the more effective tactic. But you also need to take the prevailing conditions into consideration. If the current is ripping along, then drifting is sometimes a better move so the baits don’t appear to drag in the moving water. If the wind is pumping then anchoring is usually the way to go; otherwise you’ll find that the baits have the same problem as your boat blows across the water’s surface. And if you’re fishing in an area where lots of boats have already anchored up the decision has already been made for you unless you plan to ping-pong your way through the fleet—something we most certainly do not recommend.

Spots for the Spot
What specific hotspots are best for live-lining? Naturally, this will change from year to year, as the fish have tails and they do move from time to time. That said, northern anglers may want soak their spot along the channel edges west of Love Point, paying particular attention to the “Love Handles” where an underwater knoll of about 15 feet drops off into the depths (look at a 310-degree compass course from Love Point itself, and a 260 degree course from the light—you can’t miss it). Another good northern bay area for live-lining is the Sewer Pipe, along the ridge running from the markers in to shore. Just remember not to anchor here unless you have a grappling anchor, as Danforths and similar designs commonly get snagged and lost in this spot.
For some reason the waters near Poplar Island and Eastern Bay seem to be reliable live-lining hotspots many seasons. On the northern side of Poplar the 22 to 25 foot zone often is a good bet. One note, however: there’s an awful lot of action on the north side of Poplar these days with dredging and construction going on, and we’re not sure how this will potentially affect the fishing in this area. Some other seasons, the south side in “The Hook” (again in depths of the mid-20’s) is the ticket.
Reliable areas a bit farther south include the Diamonds and the False Channel at the mouth of the Choptank. Year after year, you’ll often find a fleet through this area. Some seasons the northern edge of the deep water in this area is where the stripers congregate, and others it’s the southern edge, so don’t hesitate to probe these water with your fishfinder for a bit before dropping anchor and committing.
When you get a striper on the line, the fight should be no different than it is with any other fishing tactics. When the fish gets close to the boat, however, there is one important thing to keep in mind: never lift its head out of the water, until a net’s been slid underneath the fish. With shocking regularity the striper won’t actually be hooked at all, but will merely have the bait lodged in its jaws—once a rockfish gets a hold of a live and frisky spot, it doesn’t like to let go. That’s why so many fish seem to “fall off” right next to the boat while live-lining. Lift the rockfish’s head out of the water, and it will admit defeat, let go of the spot, and swim away. Scoop with the net while the fish still has its head in the water, however, and often they’ll hang onto that baitfish right up until the moment you lift them out of the water.
What should you do if an un-hooked striper fights its way up to the boat, then releases the spot? Change baits immediately. For some reason once a spot has been attacked by a rockfish the first time, other stripers seem to want little to do with it. This is particularly true when a spot’s scales have been stripped off, perhaps making the bait look sickly or diseased. Whatever the reason may be, you’ll catch more stripers if you swap out any spot that have already been attached for fresh, frisky baits.
-by Lenny Rudow
Editor's note: This article was originally published in August of 2017 and was last updated in June of 2024.